Pls contact us before you upgrade the firmware.
Upgrade the Matecam X1 FW instruction
1.format the memory card,Connect the camera to pc by USB cable,
2.Copy the FWMT66.bin file into the root memory card.
3.Insert the memory card into the camera,Press the reset button
4.it's upgrading now. The LED in motion detection mode will flash fast.
5. then Restart the camera,LED run one circle, then turn on to record
6. Then delete the file from the root memory card directly.
When you format the memory card, pls turn on the camera,and long press the shutter key 10s, then it will be formatted.
Upgrade the Matecam X7 FW instruction
1: Copy the FWX7.bin file to the root directory of the card.
2: Connect the battery to power on, or connect a USB cable to the computer to power on.
3: Starting the upgrade, the recording indicator LED will flash quickly, and it will automatically restart after about 2 minutes. After running around the LED light, it will default to Enter the USB drive.
4: Delete the upgrade file, otherwise it will be upgraded once every time the computer is turned on.
Upgrade the Matecam X9 FW instruction
Put the X9.BRN file under the root directory of the card, power on (PC is not connected)
4K indicators flash in a row to start the upgrade, the upgrade is completed in about 90 seconds, and the machine shuts down automatically, and the upgrade file is automatically deleted.
Note: The time is about 2 minutes, and power can not be cut off midway. otherwise you could not start the machine again.
Attention: After upgrading, Need to delete the TXT file in the card.
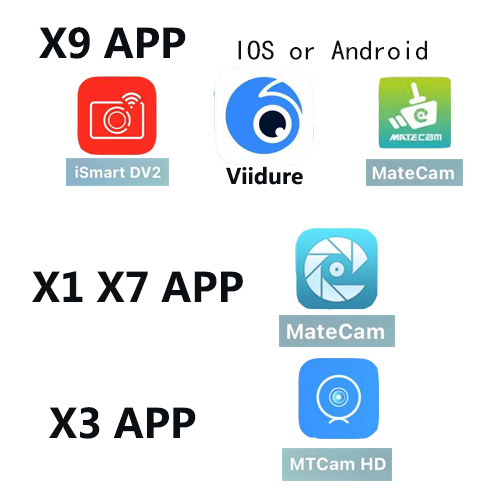
Where to get the X1/x7 APP?
- Scan the QR code from the manual to download.
- Search "matecam" on APP Store/Google play.
Where to get the X9 APP?
- Scan the QR code from our manual to download.
- Android search "matecam" or "viidure" on APP Store/Google play.
- IOS search " ismart DV2" or "viidure" on APP Store/Google play.

Any questions, pls contact us.
Email: support@matecamera.com
Thank you so much!!

